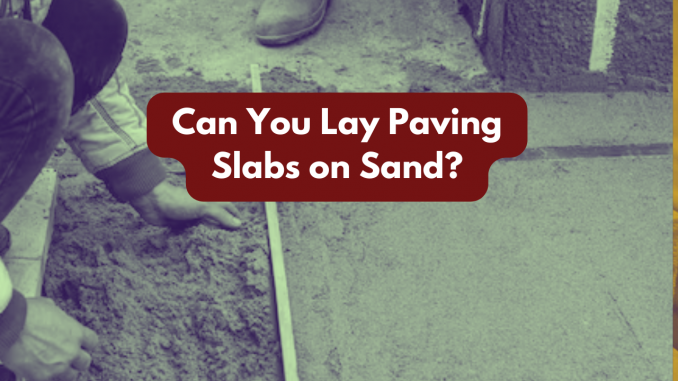
Enhancing your outdoor living space with a paved area not only adds aesthetic appeal but also provides a functional and durable surface. One popular method for laying paving slabs is on a bed of sand. This DIY-friendly approach ensures a stable foundation for your patio or walkway. In this guide, we’ll take you through the step-by-step process of laying paving slabs on sand, helping you create a stunning and long-lasting addition to your home.
You can lay paving slabs on sand, the method involves preparing a stable base by excavating the area, spreading a layer of sharp sand, and then placing the paving slabs on top. The sand provides a level surface and allows for adjustments to achieve proper alignment.
It’s important to ensure the sand bed is well-compacted and level to ensure the stability and longevity of the paved area. Additionally, filling the joints between the slabs with kiln-dried sand helps secure them in place. This approach is commonly used for patios, walkways, and other outdoor spaces, providing an aesthetically pleasing and durable result.
The Dangers of Laying Paving Stones on Sand
While laying paving slabs on sand is a common and accepted practice, there are certain considerations and potential issues that individuals should be aware of to ensure a successful and durable installation. Here are some potential dangers or challenges associated with laying paving slabs on sand:
- Lack of Stability: If the sand bed is not adequately compacted, it can lead to an unstable foundation. This lack of stability may result in uneven settling of the paving slabs, causing them to shift or sink over time.
- Weed Growth: Without proper precautions, such as the use of a geotextile membrane, weeds and vegetation may grow through the sand joints, impacting the appearance of the paved area and requiring additional maintenance.
- Poor Drainage: In areas with inadequate drainage planning, water may pool on the sand bed, leading to erosion and potentially compromising the stability of the paving slabs.
- Erosion and Shifting: Over time, erosion caused by water or other environmental factors can lead to the shifting of the sand bed, affecting the levelness and stability of the paving slabs.
- Ant Nests and Disturbances: Sand can be attractive to ants, and they may build nests beneath the paving slabs, causing instability and potential damage to the paved surface.
- Freeze-Thaw Cycle Concerns: In regions with extreme temperature variations, the freeze-thaw cycle can affect the stability of the sand bed, potentially leading to heaving or settling of the paving slabs.
To mitigate these dangers and ensure a successful installation, it’s crucial to follow best practices, including proper excavation, compaction of the sand bed, the use of a geotextile membrane to control weed growth, and attention to drainage considerations. Additionally, periodic maintenance, such as refilling joints with sand, can help address issues that may arise over time. Consulting with a professional or referring to reputable DIY guides can provide valuable insights into ensuring a long-lasting and stable paved surface.
How to Lay Paving Slabs on Sand
Materials and Tools:
Before you begin, gather the necessary materials and tools:
Materials:
- Paving slabs
- Building sand
- Geotextile membrane (optional)
- Cement
- Edging stones
- Wooden pegs
- String
- Water
Tools:
- Shovel
- Spirit level
- Rubber mallet
- Wheelbarrow
- Plate compactor (or a hand tamper)
- Trowel
- Broom
- Safety gear (gloves, safety glasses)
Step 1: Planning and Preparation
Before you start laying paving slabs, plan the layout and measure the area. Mark the perimeter using wooden pegs and string. If drainage is a concern, consider including a slight slope away from buildings.
Step 2: Excavation
Remove existing vegetation and excavate the area to a depth of about 150mm (6 inches). Ensure the surface is even and compact the soil using a plate compactor.
Step 3: Geotextile Membrane (Optional)
To prevent weed growth and ensure better stability, lay a geotextile membrane over the excavated area. Trim any excess material and secure it in place with pegs.
Step 4: Edging Stones
Install edging stones around the perimeter of the area. These will provide lateral support and help keep the paving slabs in place.
Step 5: Sand Bed
Spread a layer of sharp sand evenly over the prepared area. The sand should be about 50mm (2 inches) deep. Use a straight edge or a piece of timber to level the sand.
Step 6: Mixing Cement
Prepare a mortar mix by combining cement and sand in a wheelbarrow. The ratio is typically 1 part cement to 4 parts sand. Add water gradually and mix until you achieve a consistency similar to that of toothpaste.
Step 7: Laying Paving Slabs
Starting from one corner, lay the paving slabs on the sand bed, leaving a gap of 8-10mm between each slab. Use a rubber mallet to tap the slabs into place, ensuring they are level and align with the string markers.
Step 8: Cutting Slabs
If necessary, cut slabs to fit the edges or irregular shapes. A diamond blade saw or a hammer and chisel can be used for this purpose.
Step 9: Filling Joints
Once all the slabs are in place, brush kiln-dried sand into the joints to secure them and enhance stability.
Step 10: Finishing Touches
Check the level of the paving with a spirit level and make any necessary adjustments. Clean the surface with a broom to remove excess sand.
Laying paving slabs on sand is a rewarding DIY project that can transform your outdoor space. By following these step-by-step instructions, you’ll create a durable and visually appealing surface that will enhance the beauty and functionality of your home. If you are not confident then we’d suggest getting a professional with contractors all risk insurance Enjoy your new paved area for years to come!


Leave a Reply